
Moving cats into an apartment is one thing. Moving them into your fiancé’s apartment is quite another. One of the things she hated about going to my house in Westmeath was the fact the cats had free run of the kitchen. The kitchen and dining area were complete open plan there. While the apartment is sort of open plan, the kitchen is easily accessible by anyone, especially two cats. She originally thought about putting up some kind of barrier we could move in and out but the problem is that cats can jump over any baby or dog gate that was put in. In fact, when I moved them in at first, for the first few days I put a large pallet across the entrance and of course they jumped over it.
My plan was to construct a sliding barn door. I originally bought scaffold planks for this but they were far too thick. I was then going to build a door out of wood because no door I could find was wide enough. The entrance was about a metre wide so the first thing I bought was a sliding rail kit. I got this one on amazon but there are plenty available.
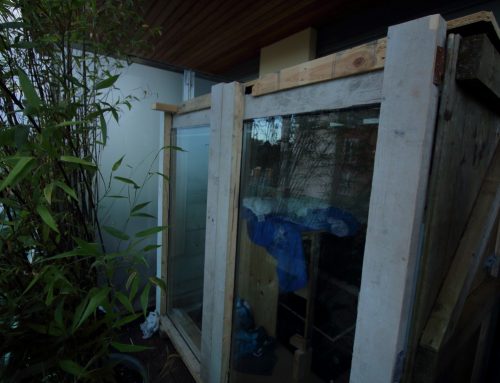
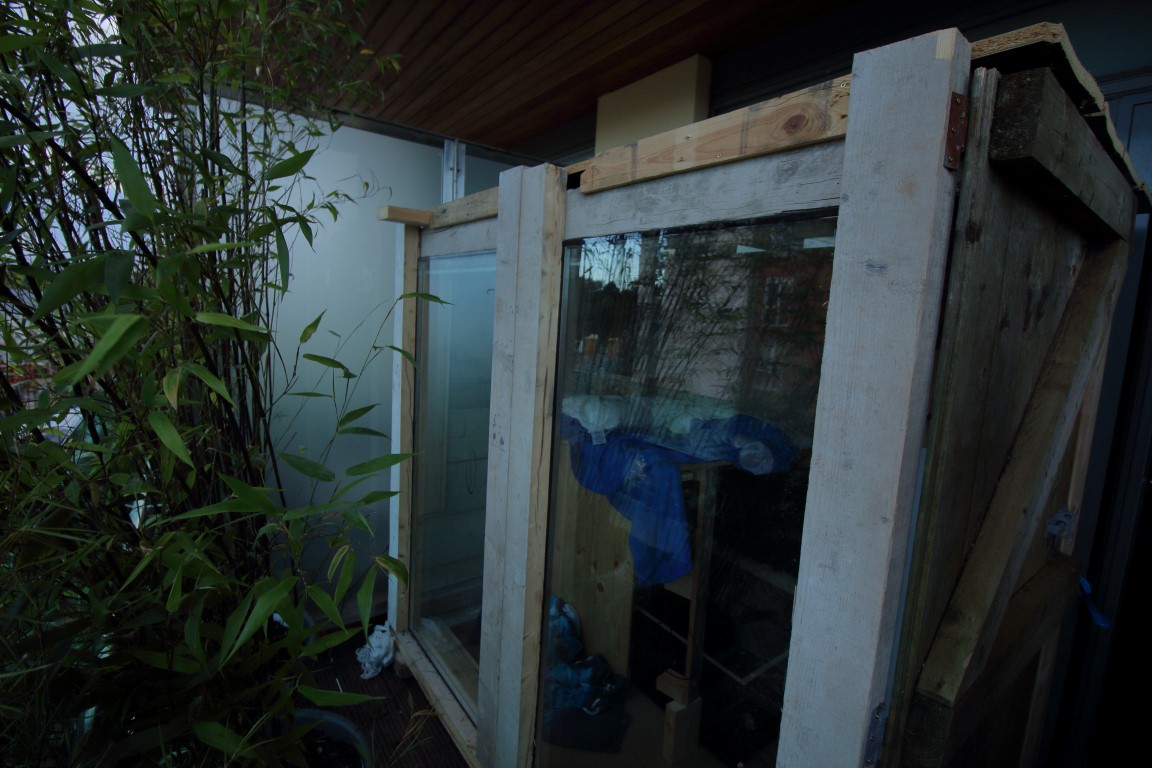
If you look at the image above, you will see a number of electrical switches on the left. That means, power cables running through the plasterboard and that’s always dangerous to drill through. I bought a 3 in 1 detector so I could find the power cables and wooden battens. Unfortunately it turns out that there are no wooden battens, all the detector could find was metal so I guess it uses a metal frame. This meant altering my plan somewhat. I couldn’t just screw the rail into the plasterboard and into wooden battens, I now needed to install a frame that didn’t need to be secured into the wall.
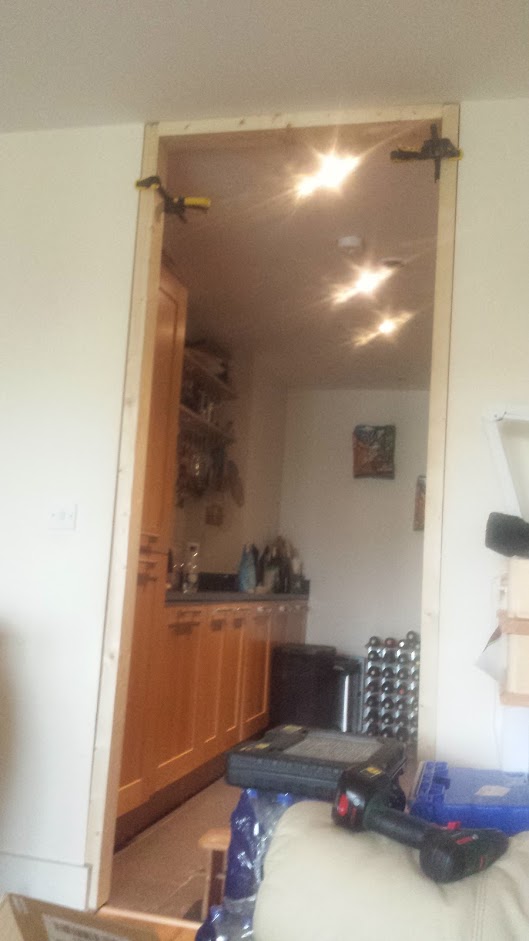
I went off to buy some timber and start the frame. I cut the lengths I needed and then tested the frame which fit almost perfectly. I secured it to the wall with a pair of clamps so I could measure for the rail. The hardest part of this frame was actually the skirting area. Since that sticks out from the wall, I had two choices. Either cut it and sit the frame on top of the skirting (easier) or cut the frame so it goes over the skirting. I chose the latter despite being harder. I had no power tool capable of cutting so I had to use a hand saw which was a lot of effort. It nearly broke me!
You might notice a slight but visible gap on the left hand side? I think that’s the plasterboard as it made no difference which plank I used. That can always be filled in with filler. especially if painting at some point int he future.
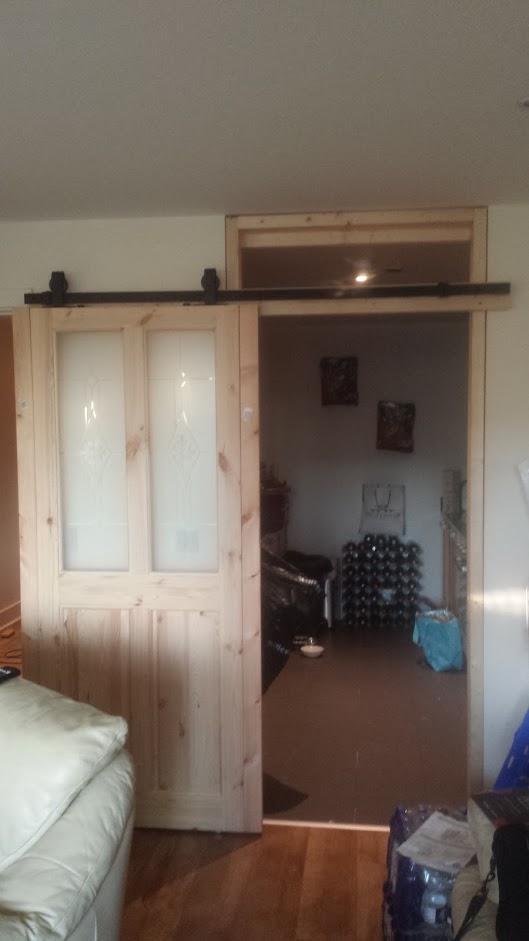
All I had to do then was screw in the cross beam and then screw in the rail. The cross beam prevents the frame from falling in towards the kitchen. I simply added another, smaller cross beam on the other side to prevent the frame falling the other way. The bottom part of the frame is screwed into the skirting board for extra security. It all worked beautifully. To be safe, I added two tiny castor wheels to the bottom of the door. They are 14mm and according to the instructions, the door should be 10mm off the ground.
The door itself was €99 and was the widest internal door available at 838mm from B&Q which I felt was a bargain, despite being too narrow for the gap, I had a cunning plan though.
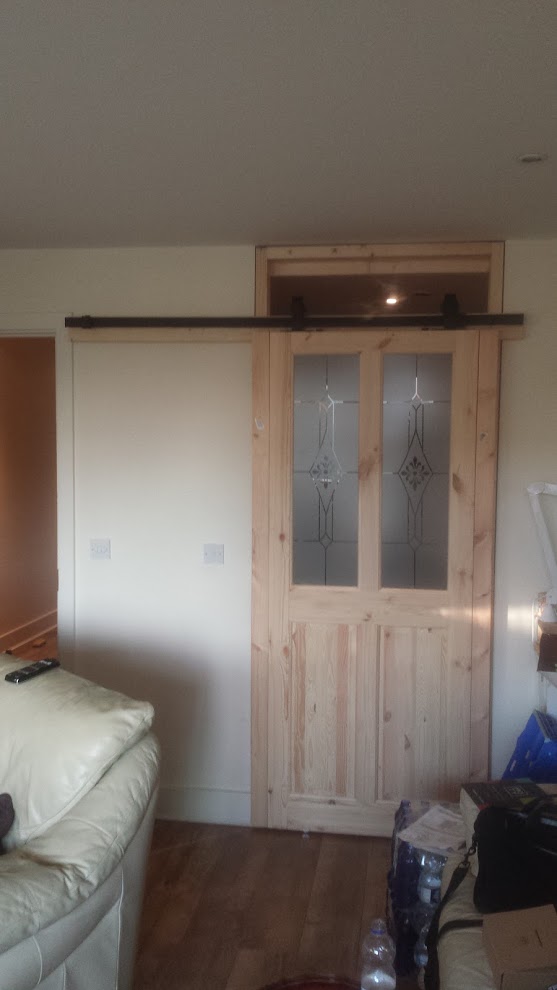
As I said you can’t buy a door wide enough for this gap from a regular shop. Even with the frame narrowing the entry way, there was still a gap either side that a cat can easily get through. So I went back to B&Q and bought two redwood planks that looks almost identical to the grain of the pine door. They were a closer match than the pine planks available, though more expensive. I simply matched the thickness, cut to the correct height and screwed them in. The result, the door looks almost seamless and if it’s painted, you wouldn’t even be able to tell as the tiny gap will be gone.
The door works almost perfectly. I say almost, as due to the thickness of my timber crossbeam, the door comes out a little too far so a cat could easily sneak through of they wanted. To combat this, I simply angled the bottom of the door in towards the wall. The result is that it doesn’t sit flush on both rollers so the rollers act more as guides while the door actually rolls on the tiny castor wheels. It’s not an issue, it just means being a little careful as it can some slightly off track. I could resolve this by replacing that crossbeam with a narrower piece of timber but for now, I’m happy with it.
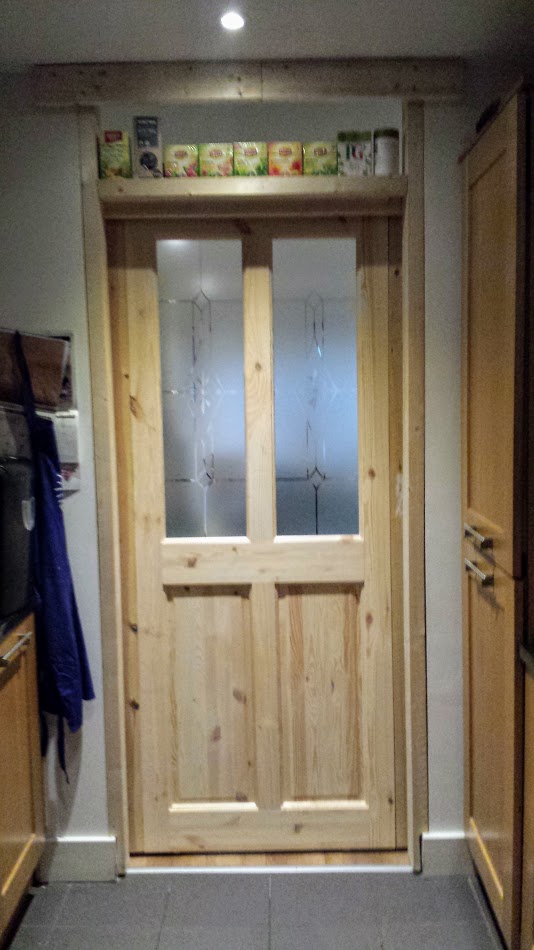
There’s now a natural shelf area above the door which is now filled with boxes of herbal tea to prevent a cat from trying to get through the gap. I didn’t bother with handles as they don’t appear to be necessary but could easily be screwed on to assist with sliding.
Overall, it wasn’t all that expensive considering the end result.
The rails – about €56 delivered
Door – €99
Timber – about €40
Mini Castor Wheels – €1.50 x2 so €3
Overall, just under €200 and it would be a lot cheaper if I didn’t need to make a wooden frame and could just screw the rails into the wall via wooden battens.
Leave A Comment