
Two years ago, I decided to make my girlfriend’s Christmas present. She is now my fiancé and we plan on getting married in 2018. I’m not saying this jewellery workbench is the reason, but it certainly played its part. I embarked an a DIY project to make her a Jewellery Workbench. The reason for this was that she attends a jewellery making class where they use specialised benches to craft jewellery. I figured she would love to be able to work on her craft at home and not be restricted to the classroom. Purchasing a bench was nearly impossible in Ireland as no one seems to sell them and the one or two that do charge many hundreds of euro for a relatively small workbench.
The basic materials needed are pretty simple. In my case I used the following.
Materials Needed
2 x wooden boards, or a single large one cut in half.
A 2×4 plank that could be cut to size.
Woodscrews – as many as needed
4 or more corner brackets, could use wood plugs and glue instead if preferred.
Tools Needed
Jigsaw or hand saw if preferred.
Router – not needed but adds a nice touch.
Sander – can use sandpaper if preferred.
Drill – not strictly necessary but makes things quicker and easier.
Extra Items
Jewellers Anvil and Peg – Purchased from Dix in Dublin
Telescopic lamp with magnifying glass – Purchased from Lidl
Two Wood Clamps – Purchased from Amazon
")
")
")
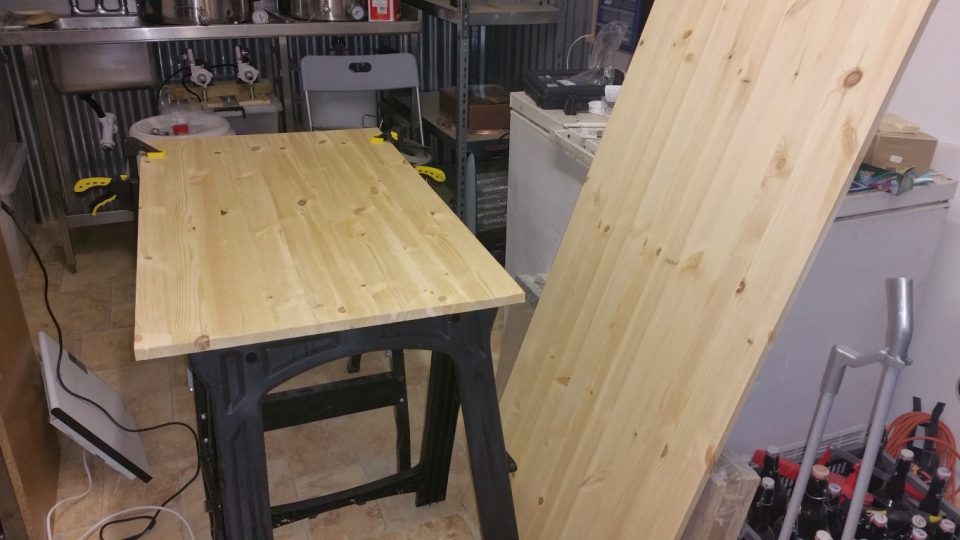
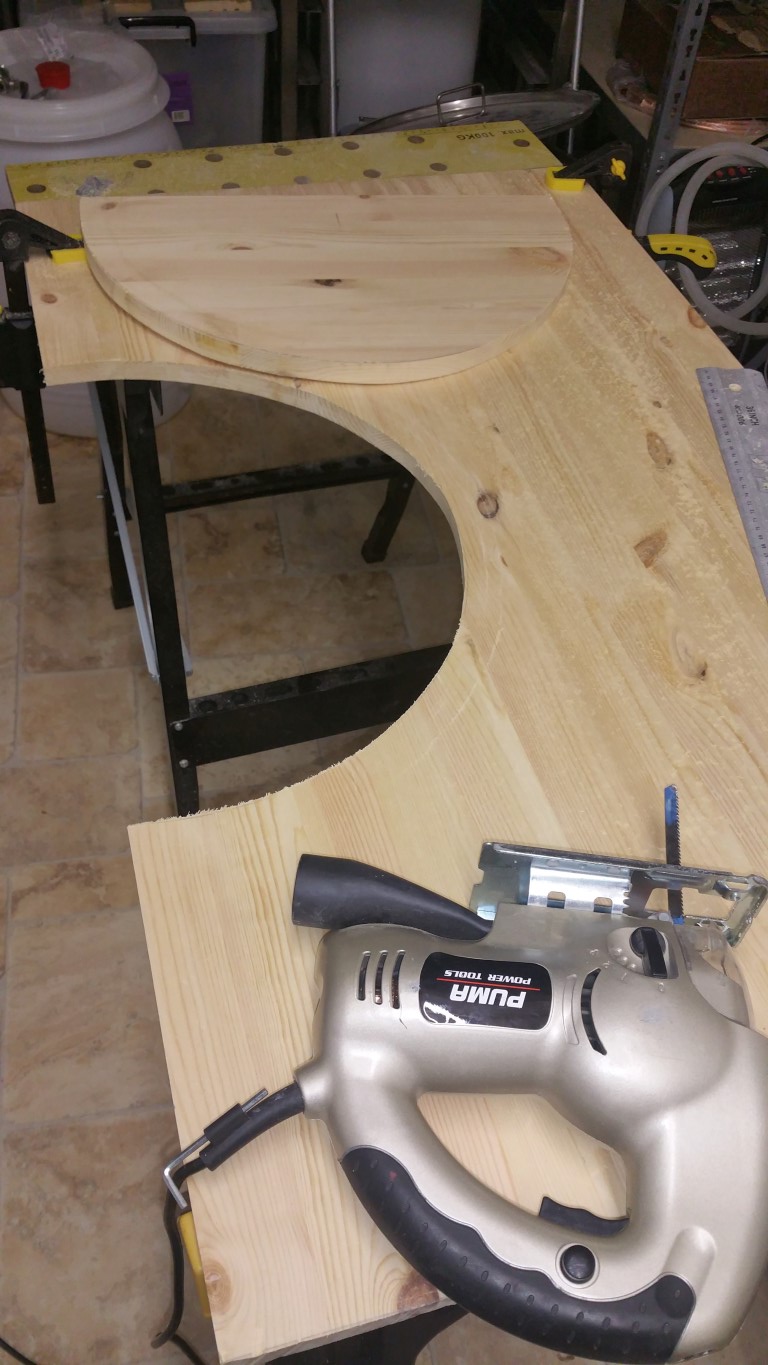
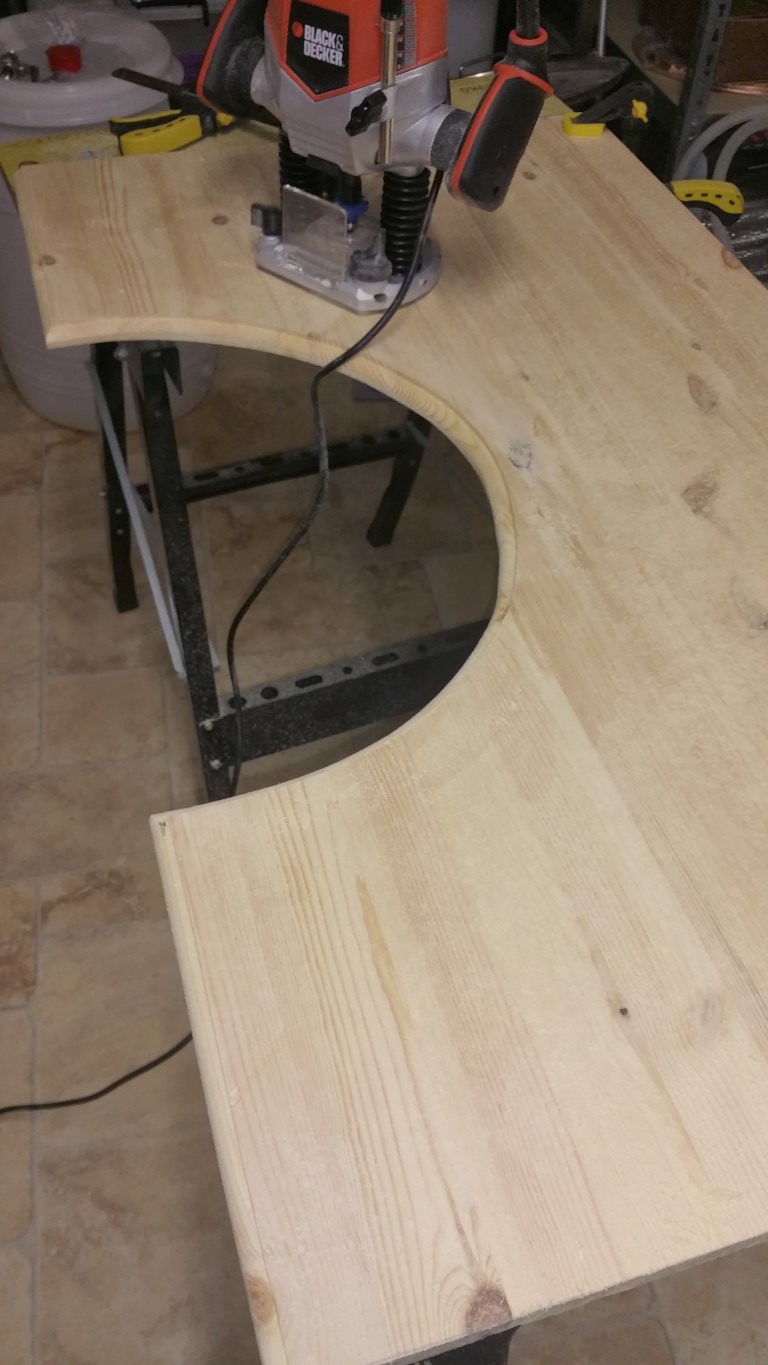
I had a single wooden sheet so I started by cutting it in half to get the desired two boards I would need. I then placed a large round lid on top, roughly half the diameter to cut mark a semicircle in pencil. Using my jigsaw, I carefully cut out that semicircle and set it aside for later. I then took my router and softened the edges around the front. After that, I just needed to use my sander to smooth everything out and soften the corners.
The process was then repeated on the second board in an identical fashion. In the end, I had two identical looking boards that would sit one above the other with the 2×4 spacing them out.
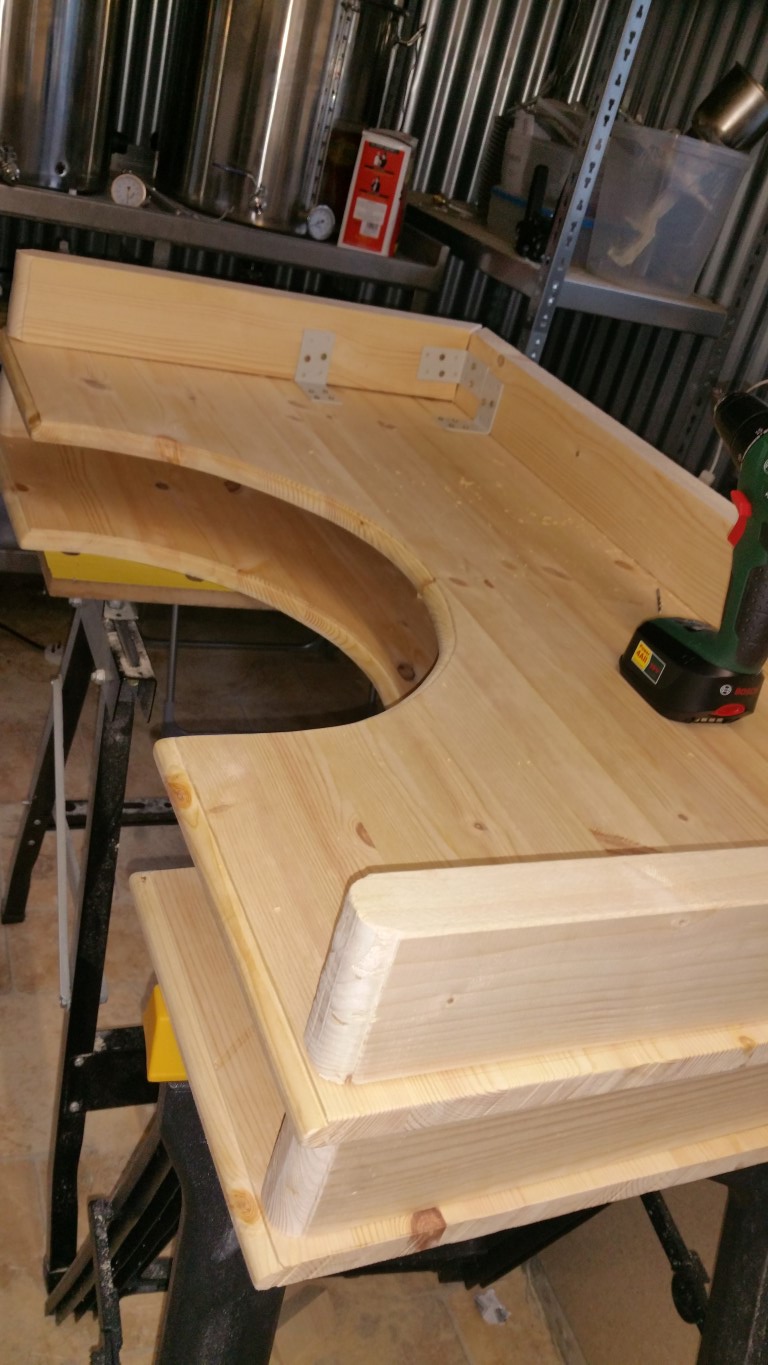
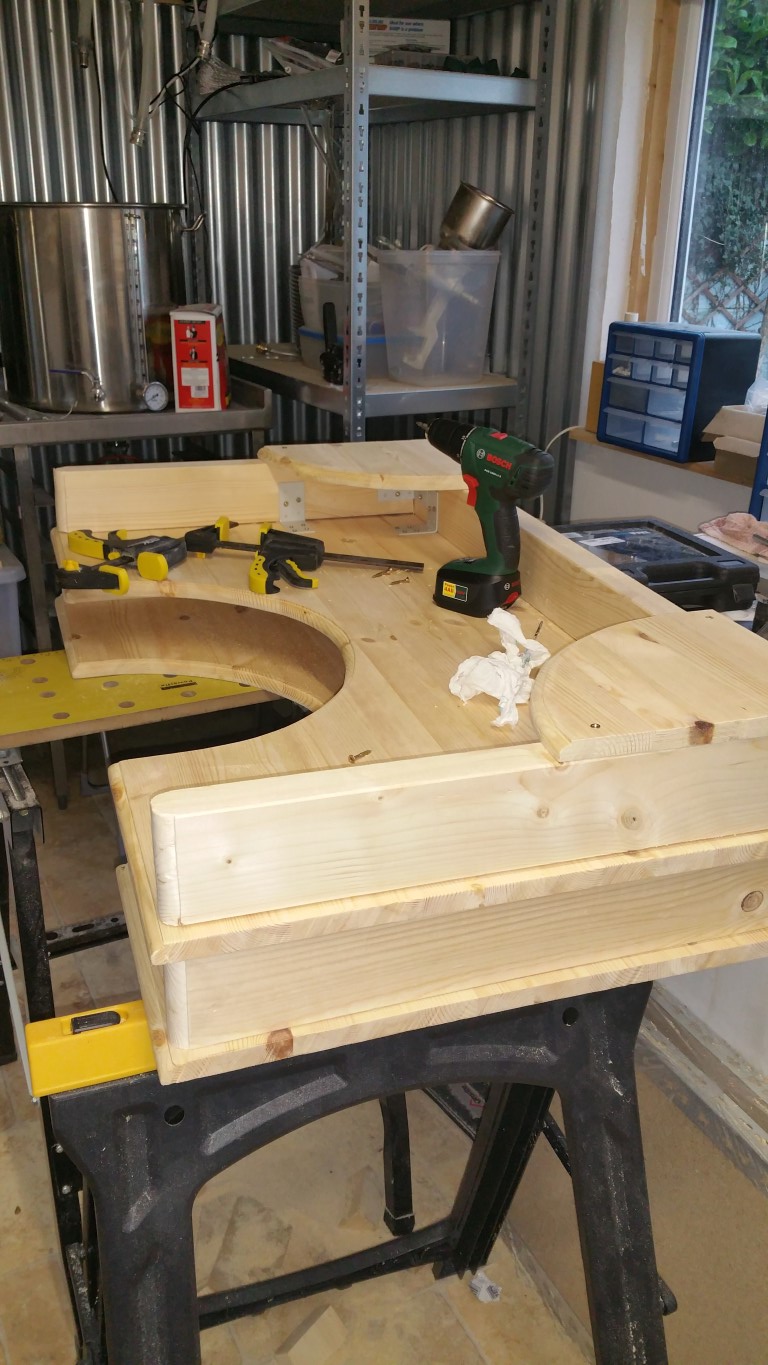
Next, I cut my 2×4 to size. They are to act as the walls and supports of the structure. I screwed the ones on the bottom in to support it in place. The ones on the top were connected with the brackets. You could do the same with glue and wood plugs instead. It would be neater but probably result in a weaker structure. I used my router to give the outward facing part of the 2×4 a rounded edge but that’s optional. You could probably do the same thing with a wood chisel/sanding combo or a wood plane if you don’t have a router.
")
")
Not being one to waste anything, I realised I had a use for the two semi-circles I had cut out earlier. First, I cut one of the semi-cirlces in half to create two corner shelves. Again, I used the router and sander to give them a nice smooth edge. I then used the semi-circle on its own and placed it in the middle. Screws and hooks can be placed here for holding jewellery making tools and other items.
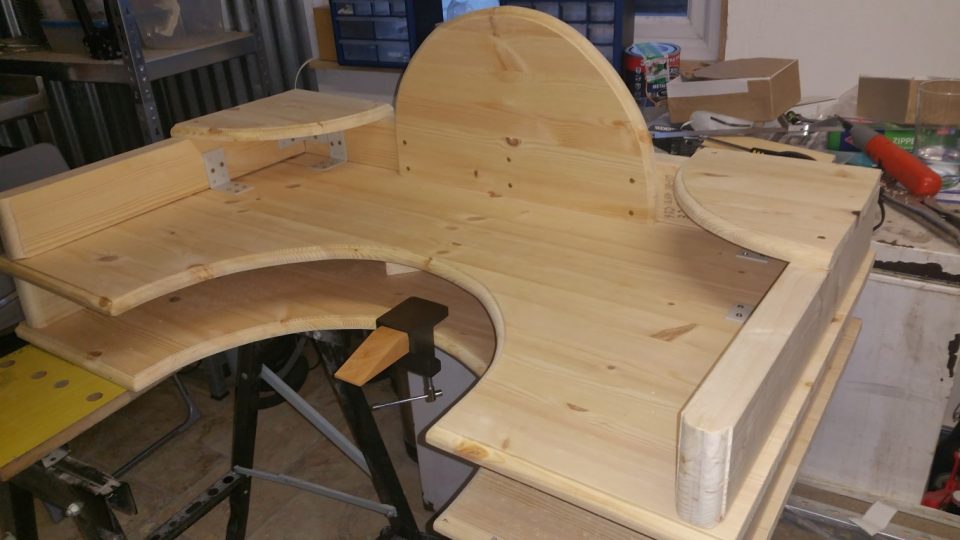
I attached the jewellers anvil/peg to the bottom but realised that while this would work, it would be too low for most uses so I decided I needed to move it to the top shelf. This presented a new challenge because I hadn’t measured it compared to the height of the gap. The result was that I couldn’t tighten the anvil to the board. What I had to do then was take the bottom board off and cut a new piece out to allow me to turn the metal bar which tightens the anvil and secures it in place.

And that brings me to the finished product above. You can see where I cut a square out of the bottom board and again, used the router and sander to smooth the edges. This allows the anvil to be taken off which is necessary for changing the peg. I also secured the light to the board. This can be moved around wherever you like. I could even permanently secure it by screwing it in rather than using the clamp. The telescopic lamp I used was purchased from Lidl and was perhaps the most expensive item in the build. I don’t recall the exact price but it was probably around €50 which is more than all the other materials combined.
You can also see that I used two pieces of 2×4 at an angle in the middle of the sandwiched boards. That’s simply to provide more support while not wasting any pieces of wood. It also allows a certain amount of separation if storing jewellery supplies underneath.
This was the finished piece as presented but the plan with this was to be able to use it on any table, to make it portable. For that, I had ordered a pair of wood clamps to secure to a desk or table. You can use plastic clamps if you like, they are certainly cheaper and easier to find but the wood clamps looked better. Hooks were added to the bottom of the top board. This allowed for a leather catch tray to be attached so it catches silver/gold filings for future use.
The bench ended up being attached to a computer desk on wheels for easy movement around the home.
Making the bench was probably the most time consuming and complicated project I have undertaken. I learned a lot and could easily repeat the process much quicker now. If I was making it again, the biggest change I would make is my choice of wood. I went for something simple and cheap so natural pine was what I ended up with. It does the job just fine but pine is a softwood and a good hardwood is going to stand up to hard use a lot better so if you decide to make a jewellery table yourself, get some good and solid hardwood instead.
Also, you can save some time and complication by having a single story unit, you don’t need the second board that I used if you are constructing it permanently fit to a table. The bottom shelf was only there to allow the workbench to sit on top of any flat surface and be portable.
If anyone reading this does decide to make their own, please comment with a link to a picture of the finished product. This is the first in my DIY series. On the rare occasion I make or fix something that’s interesting, I’ll be sure to write about it.
Leave A Comment