I’m at the stage now where it’s time to start properly mounting my photos for competitions. Tonight is the final of the Mullingar Camera Club competition. I had already submitted some images a few months ago on a bad mount board. For the final, we are to submit 2 final images and we are allowed to swap two previous images as well as touch up another two previously judged images. We need six mounted images in total.
They don’t need to be framed but since I’m going to need to properly mount photos for my L panel in May, I thought it best to do it properly this time. Or at least looking like they are done properly so I did this last night and decided to write up instructions which I hope are easy to follow.
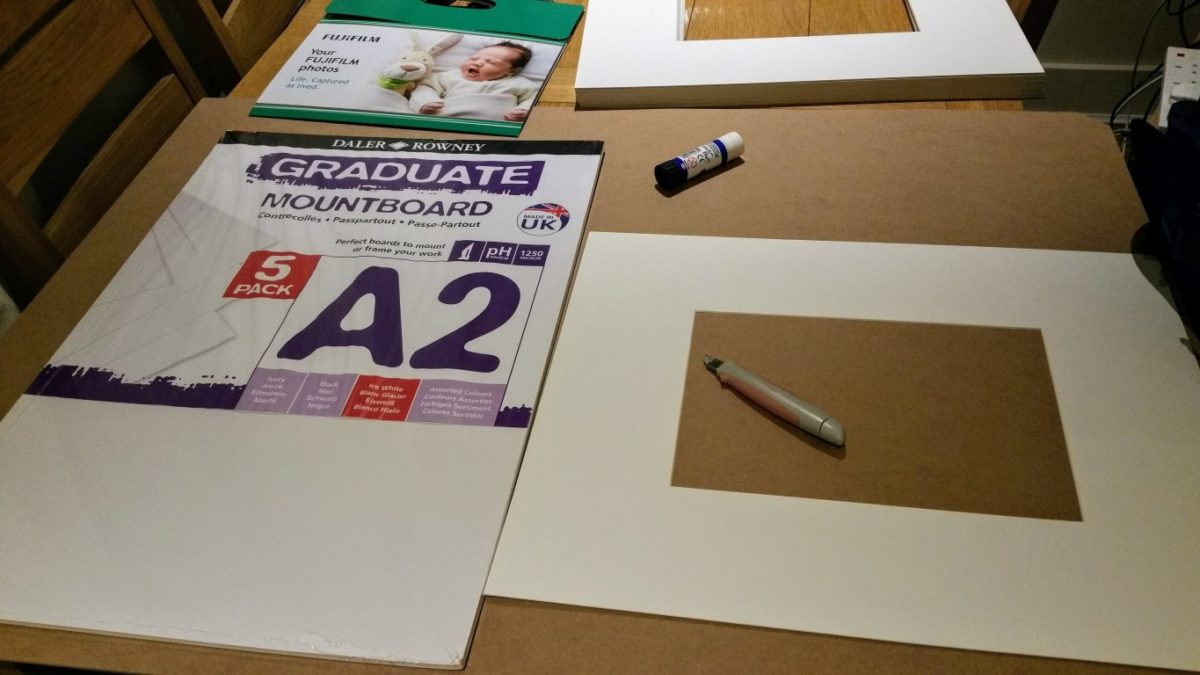
What I have here is a pack of 5 mountboards I picked up in an art shop in Blanchardstown called Inspiring Ideas but I’m sure they can be picked up in similar shops. I see you can order the same brand I got from Silkes here. There are only 5 though so I had to improvise for one of the images and used a thinner, smaller piece of card for one of the images.
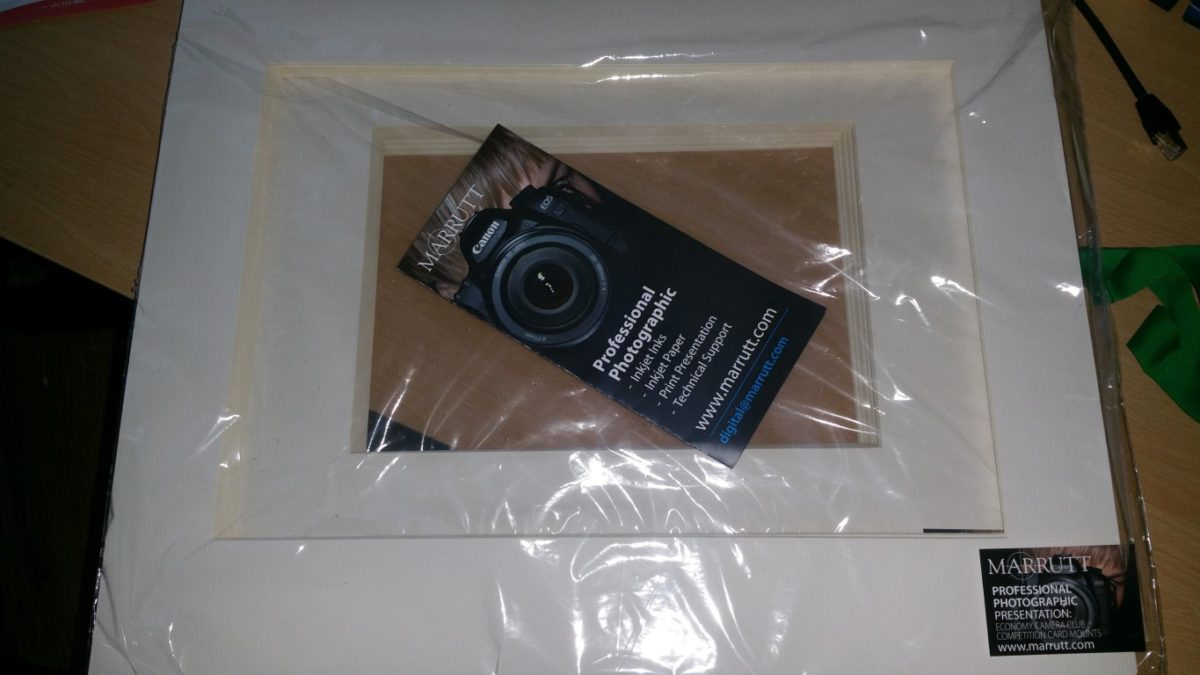
The other thing I needed was the frame. I cameacross these economy card mounts from Marrutt on the internet so I bought 20 A4 and 10 A3. They are all the same physical size, it’s just the bevelled window that’s different. They are competition standard 50cm x 40cm. There’s a small overlap to allow the frame to cover the photo so just bear that in mind when printing. The image above shows what arrived. The A4 is on the bottom and the A3 is on the top. Technically, you don’t need to add a backing card. You could simply glue the photo to the frame if you want but for extra durability, the backing card should be added.
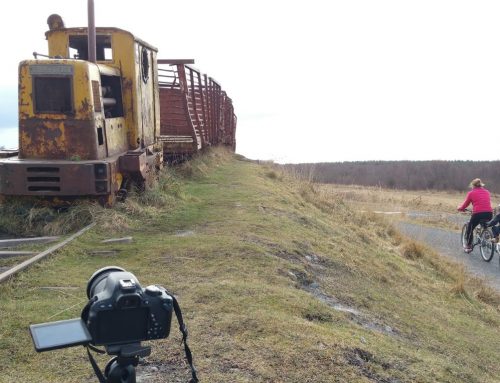
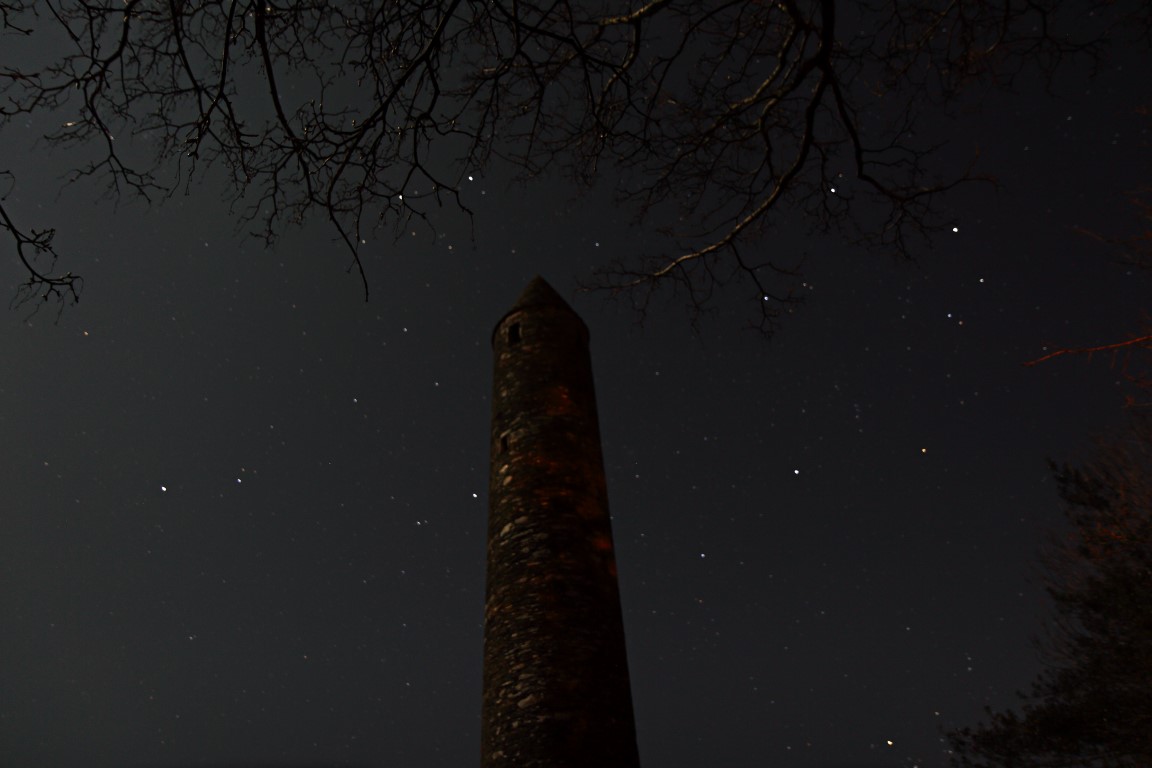
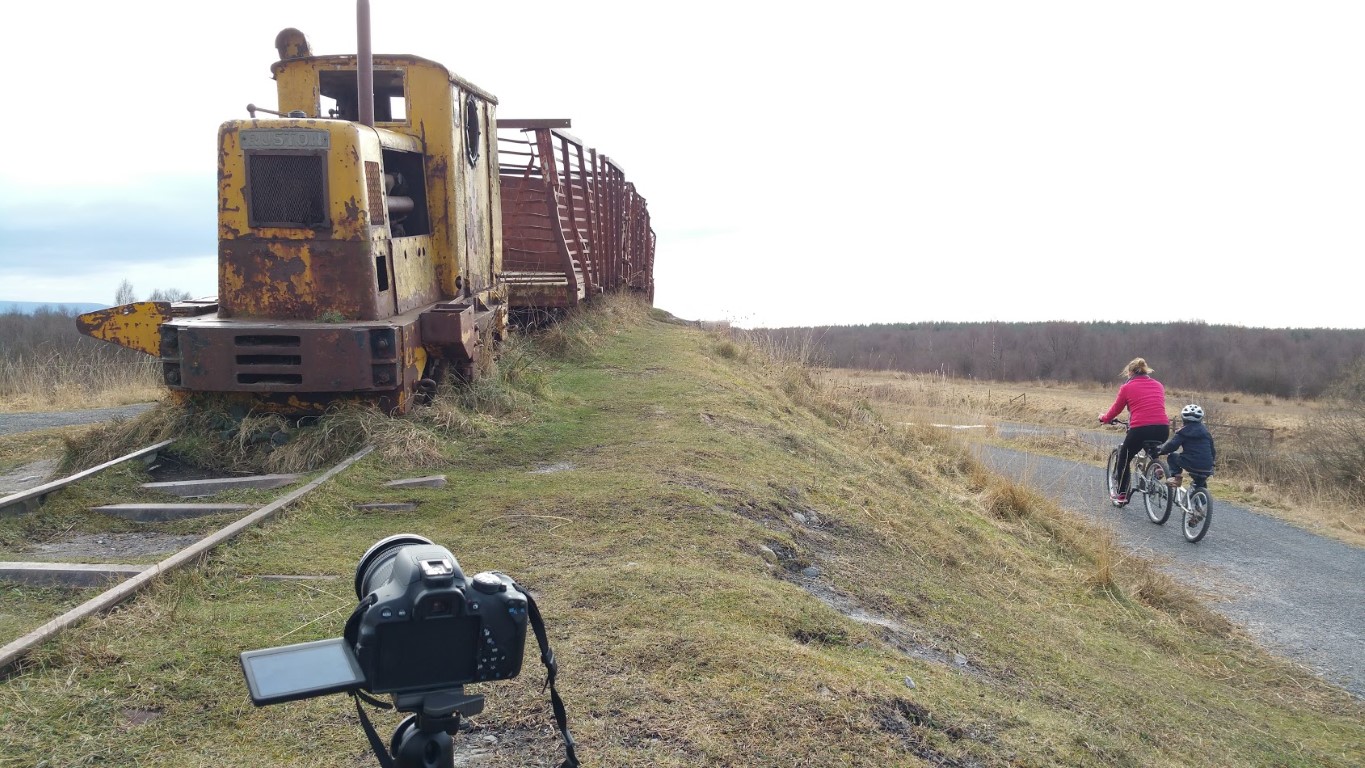
The other items I needed was glue, box cutter and something to cut on to protect the table. Pritt stick was the glue I had on-hand. I doubt it will be a permanent option but it will do for now. I can always use a stronger adhesive at a later time. I was lucky with the large board to cut on. I had my long exposure train image (see below) printed on a massive 70x50cm carton board. It was only €29 including shipping from PrintDeluxe. I paid an extra €2 for faster shipping simply because it would come by courier rather than post so will be safer. The only hiccup was I received the wrong order. Their customer service were quick to respond and re-printed it, then sent it express so it arrived a few days later. Anyway, I placed that in a large Ikea frame. I couldn’t fit the frame’s backing board on top of the print so I left it out of the frame. I was going to put it in the recycling but didn’t get a chance. A good thing because it came in very handy. So much so, I have decided to keep it for future projects like this.
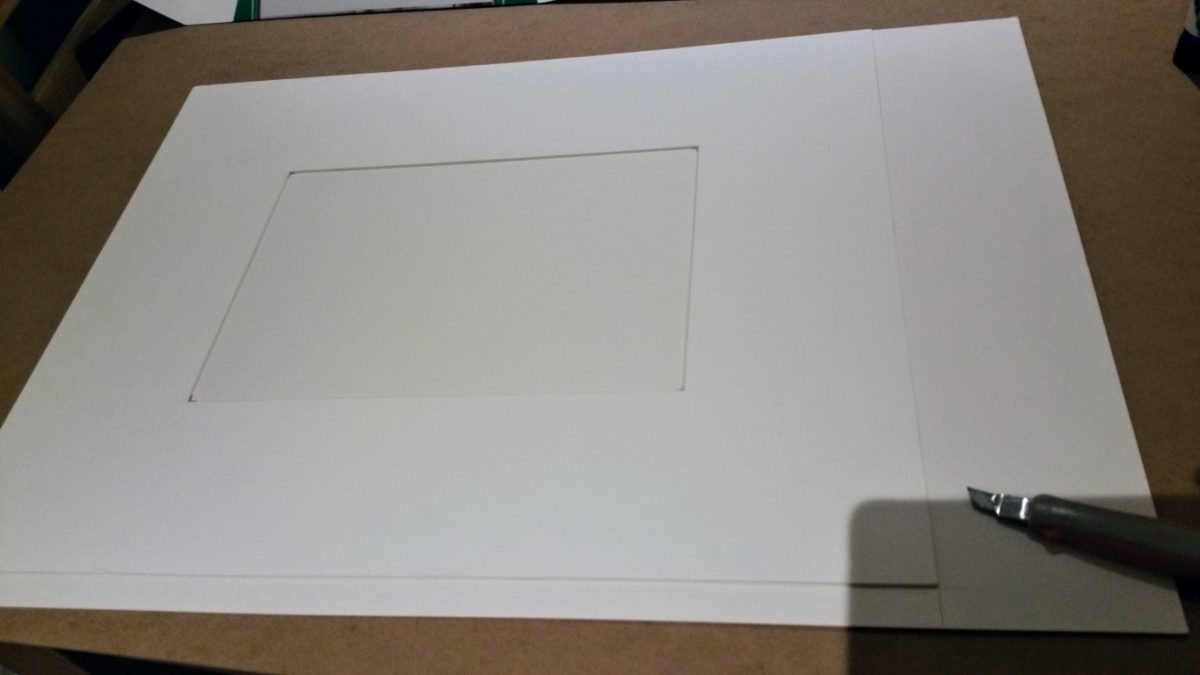
Rightly or wrongly, what I did was pretty simple. The A2 cards are a little too big so I placed the frame on the board and lined it up. I then marked the four corners of the inside frame to help with the photo alignment. I then used the box cutter to cut along the lines of the outside of the frame. You can just see the lines in the image. Since I ended up slightly cutting into the frame on the first go, this became an unusable frame but is now my permanent stencil so I’ll keep it for that purpose. It might be worth getting A3 mountboard instead as it might not require any cutting.
All I had to do then was bend into the cut and use the box cutter to cut away the parts still attached. Pretty much one good slice finishes the job.
I then simply placed glue on the back of the photo and aligned it with the markings I made. I then placed glue around the outside of the photo and placed the frame in top. Very simple.
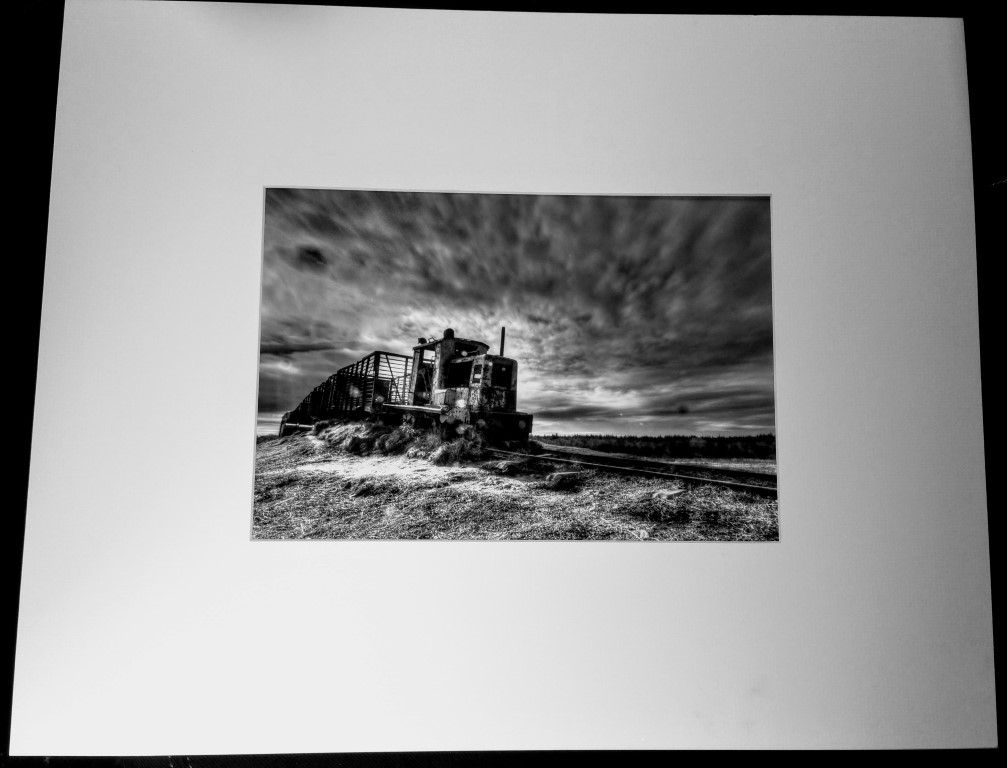
You can see the end result above now. I also placed heavy objects on top of each finished piece to keep it together while the glue dried. Be careful of what you place on top as I did manage to mark at least one of my frames with dirt. It will be fine for a club competition but not for a distinction.
How about cost? Well, one of the guys in my club gets his done at a shop. Each mount costs him €6 if I remember correctly. Doing it myself, here’s the cost. I’m not including the price of glue or cutting tool as they are negligible and I’ll assume you have them at home. There may be a shipping charge to consider too if you can’t get them locally. I was in Woodies in Blanchardstown yesterday and saw similar mounting frames.
- 5 pack of A2 mountboard – €8.95
- 5 pack of A4 card mount frame – £9.46, about €11
Working it out, it seems the DIY approach will cost about €4 per piece. You can probably even do it cheaper depending on where you get your supplies and volume discounts. It might even be worth having it done professionally in that case but for me, I was under time pressure and couldn’t wait for the professional touch. I only got my photos printed in Harvey Norman yesterday and then framed them last night.
I hope this helps someone if they decide to do it themselves.
Leave A Comment